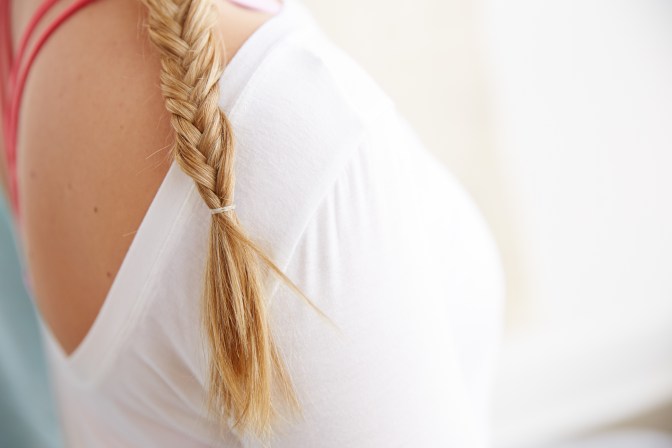
We love “double tapping” beautiful hair looks on Insta but when it comes to our own DIY moment…we’re lost! One of our favorite hair styles we have been loving this season is the gorgeous, but very intimidating fishtail braid. We asked our studio hair stylist, Julie M., if she could show us step-by-step instructions to teach us this hot new ‘do. Follow her tips below to learn how to style the fishtail braid like a pro in no time!
Before you begin: gently brush out any tangles in hair but leave as much of your natural texture as possible. For a little extra lift, use a dry shampoo at the roots and crown of head.
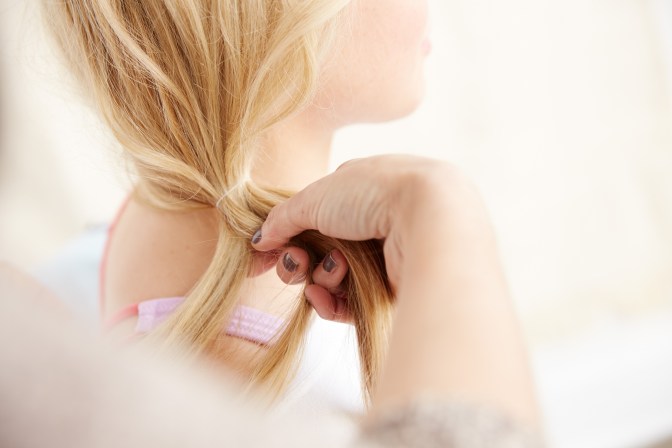
Step 1: Gather hair into desired side ponytail and secure it with a small elastic band.


Step 2: Separate the ponytail into two equal strands.

Step 3: Starting with either the left or right section, take a small strand of hair from one of the outer edges.


Step 4: Pass this strand to the opposite section of hair. Once you’ve added this strand to the other section, forget about it. You will always just be working with two sections, not three.

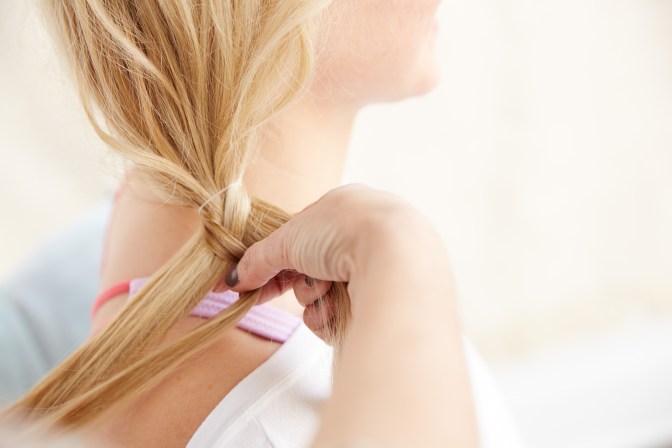
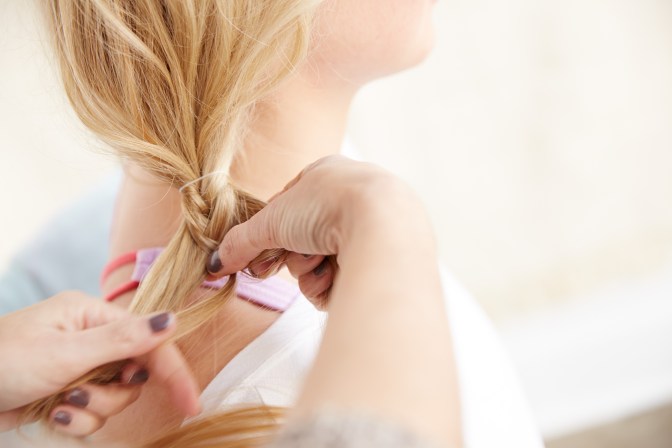
Step 5: Now take a second strand of hair from the opposite side [always concentrating on just taking from the outer edge] and add it to the other section like above.

Step 6-9: Keep repeating this process from side to side – taking pieces from outer edge, one side to the next until you reach the end. As you work down the braid you can also take smaller sections if desired.
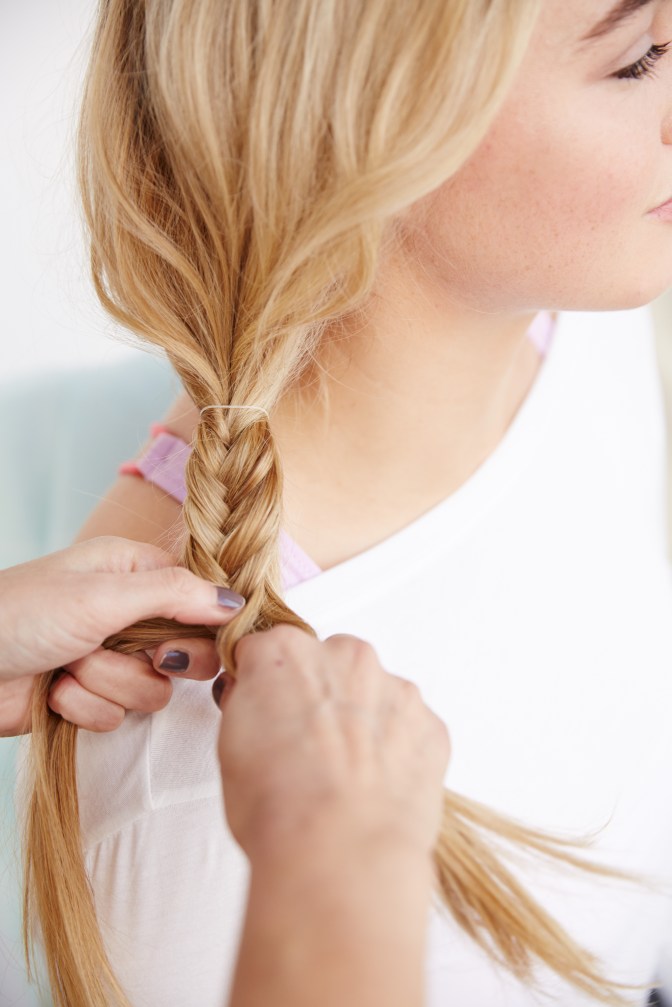
Step 10: Once you are done, secure the bottom of braid with a second clear elastic.
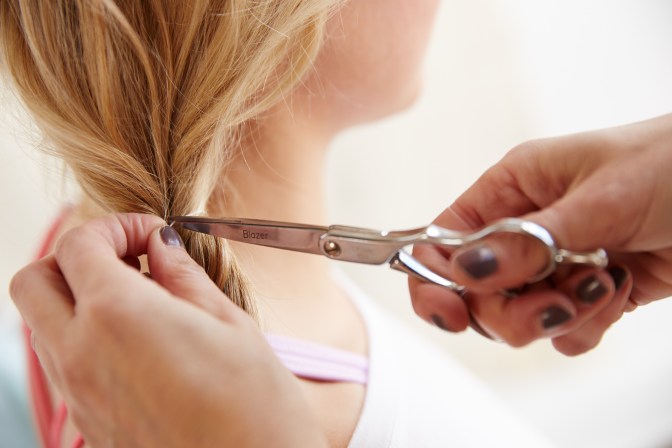
Step 11: Carefully cut out the first elastic on the top that you used at the top.

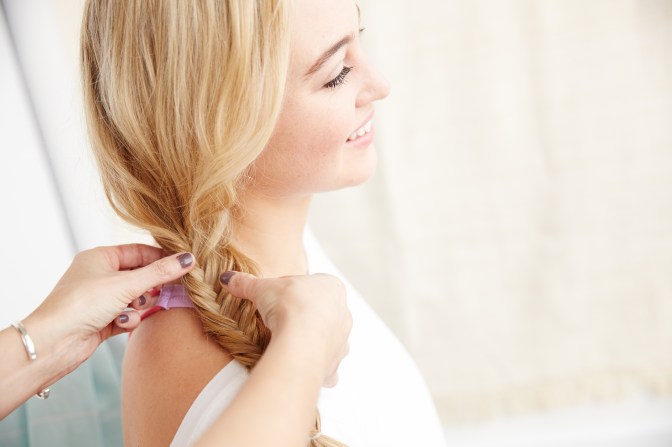
Step 12: This braid looks best messy! Once you’ve finished, mess it up a little by carefully pulling apart the braid, to create a less structured look. You can even take a teasing comb around the edges to mess up the edges.

Viola! Show us your favorite hair DIY’s with #AerieREAL on Instagram or Twitter.